The invitation will expire in 3 days. If the invitation expires, the user must request another invitation from the Administrator of the Organization.
To add a user at the Account or Organization level:
- Select Account in the left pane.
- In the right pane, click the Users tab, and then click Invite User. The Invite User window opens.
- In the Invite User window, do the following actions:
-
- Enter the user’s email address. This is the address to which the invitation will be sent.
- In the Role section, specify whether the user will be an Organization User or Account User:
- If you are creating an Account User, select a role for the user.
- If you are creating an Organization User, you can give the user roles in multiple Organizations. To do so, select an Organization and a role, and click Add. Repeat these actions for every Organization in which you wish to assign the user a role.
-
- Click Submit. An invitation to access the Ayyeka Management Console is sent by email to the newly invited user.
To accept the invitation:
- The new user clicks Accept Invitation in the email message. A Management Console page opens in the new user’s web browser to display an Invited User Details window.
- The new user must do the following actions:
- Enter the user’s first name and last name in the Name fields.
- Change the email address, which currently lists the email address to which the invitation was sent. Note that threshold alerts will be sent to this address (refer to Adding and Editing a Threshold’s Alert Recipients).
- Change the mobile phone number. Note that threshold alerts will be sent to this mobile number.
- Enter a password, and confirm the password. Note that a green line appearing under the password box indicates a strong password; an orange line indicates a medium-strength password; and a red line indicates an insufficiently-strong password.
- Click Submit. A login window with a successful registration message appears. The new user can enter his username and password to log into the Management Console.
After the new user accepts the invitation, the new user is added to the Users table in the Users tab.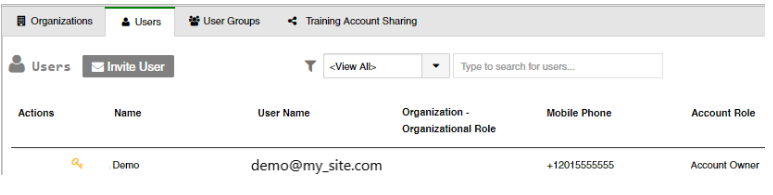
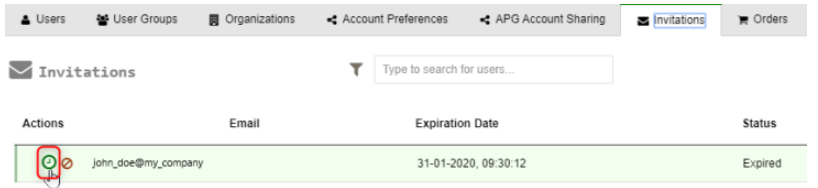
To re-invite a user:
- Select Account in the left pane.
- In the right pane, click the Invitations tab. The Invitations window opens.
- In the Actions column of the user whose invitation expired, click the clock icon next to the user's email address. You might need to hover your mouse pointer in the Actions column for the icons to appear. You will be asked to confirm the extension.