In the Configuration & Thresholds tab for a data stream, you can change threshold settings, add more thresholds, manage the actions that are taken when thresholds are reached, limit sampling, manage actions on a digital output channel, create event stream, and create a virtual stream.
Maximum number of thresholds:
- Each analog channel - 4 thresholds
- Each serial channel - 4 thresholds
- Each digital channel - 4 thresholds
- Each device - 54 thresholds across all sensor data streams
For details, see Maximum Number of Thresholds.
You can change the threshold name, threshold settings, threshold actions, and False Alarm Threshold. Configuration changes take effect after the device's next communication with the server.
Prerequisite
- Upper and lower sampling limits (Final Value Limits) for the data stream must be set before you can change its threshold range. For details, see Limiting the display of engineering values.
- You must decide what action needs to be taken for each threshold. The entire range of data sample values must be included in your threshold actions.
- If you want a notification to be sent by Voice message when a threshold is exceeded, contact support@ayyeka.com to ensure that the feature is enabled for you.
To add or edit a threshold:
- In the left pane, click Devices.
- In the Sites Tree pane, click the stream name.
- In the right pane, click the Configuration & Thresholds tab.
- If the Thresholds slider is in the OFF position
 , slide it to ON
  . A graph opens that shows the data stream values for the past week (use the slider to zoom in or out to change the time resolution). The thresholds, if any are defined for this data stream, are displayed below the graph.
 - To add a threshold, click +Add Threshold. The Create New Threshold window opens.
a. In the Name field, type in a name. It is recommended to give each threshold an appropriately descriptive name, because in the threshold alert text, the threshold name is the only indication of the reason why the alert was sent.
b. In the Threshold field, type in a number that is within the threshold range.
The device transmits a data sample when the threshold, in a whole number format, is reached. Therefore, the threshold value that you type in might be changed from a whole number to a decimal so that when the Convert to Engineering Units formula is applied, a whole number will result and the device can transmit.
c. In the False Alarm Threshold field, type in a number whose value is no lower than the threshold’s Sampling Interval. Alternatively, leave the field empty and the default value of 0 (meaning, no false alarm filter) is used.
d. Click Submit.
6. To assign an action when a threshold is reached, click the lightning bolt icon ![]() for the threshold that you just created.
for the threshold that you just created.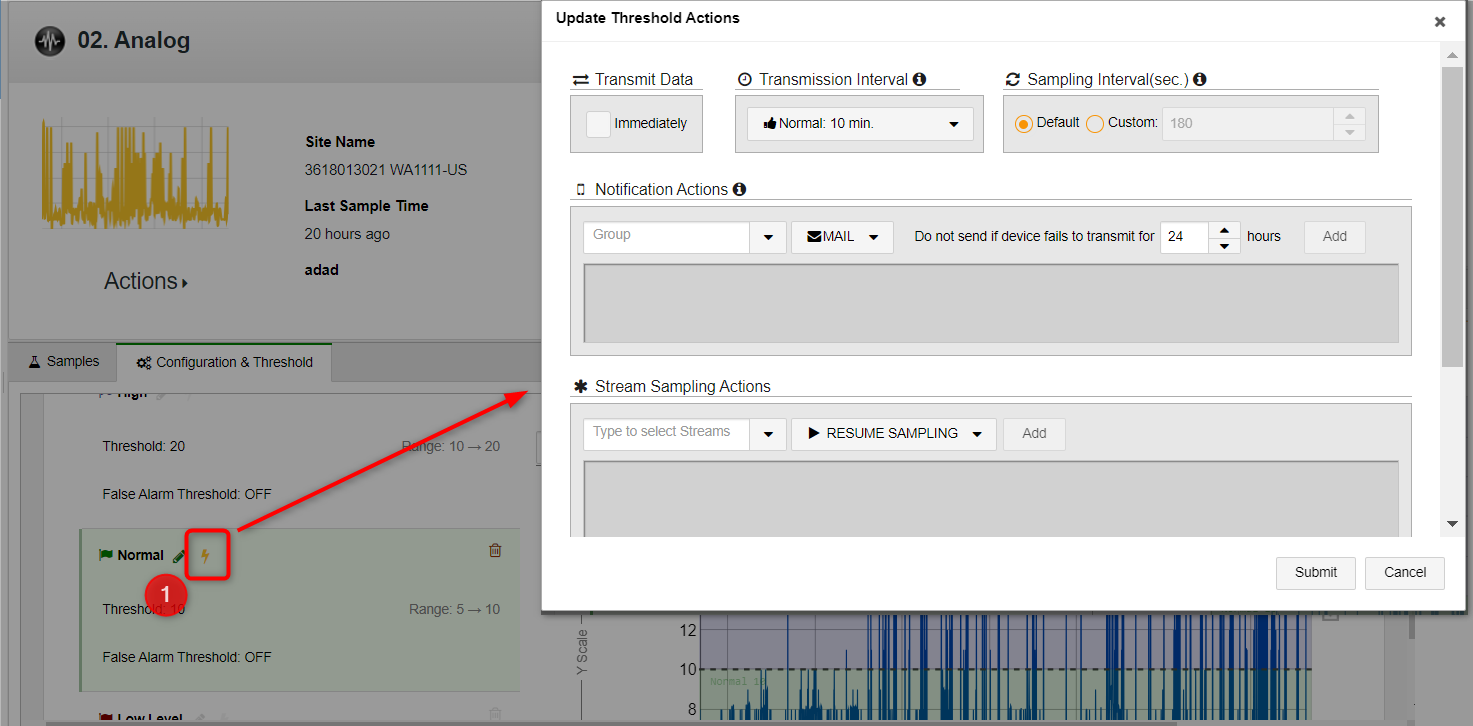
The Update Threshold Actions window opens.
- In Transmit Data, check the Immediately check box if you want the device to transmit data immediately when a stream sample crosses into this threshold. Otherwise, the device will wait to transmit until the next scheduled transmission time.
Note that the system automatically checks the Immediately box if you specify that user groups should be notified (in Notification Actions) when samples enter the threshold range.
- In Transmission Interval, select from the drop-down list: Normal, Event, or Emergency.
Note: Keep in mind that very short transmission intervals consume a large amount of power and network resources.
Also note that whenever a device is scheduled to transmit data, it transmits all the data it stored since its previous transmission. Thus, if you set the device to transmit at the Emergency rate for a certain threshold, then whenever the threshold is reached and the device transmits at the Emergency rate, it will transmit data from all its data streams, not only from the stream for which you defined the threshold.
- In Sampling Interval (sec.), select either of the following:
- Default – Use the sampling interval that you previously defined.
- Custom – Toggle or type in the frequency, in seconds, to sample the data stream. Sampling will continue at that rate until it reaches a different threshold range.
- In Notification Actions, select the user groups and delivery method for the alert. If you see **** listed as a user group, contact support@ayyeka.com.
- In Stream Sampling Actions, do the following actions for every data stream that you want to sample:
- Select a data stream in the drop-down list. In firmware 2.388 and newer, only sample groups and digital edge streams are listed.
- Select one of the following actions, and then click Add:
- Pause Sampling – Instructs the device to pause sampling the selected data stream.
- Resume Sampling – Instructs the device to resume sampling the selected data stream.
- Sample Once – Instructs the device to take a one-time sample of the selected data stream immediately and then resume the regular sampling schedule for the selected data stream.
- Pause Single – Instructs the device to immediately take one sample of the selected data stream, and then pause sampling of this data stream.
- Change Interval - Instructs the device to change the sampling interval. Type in the new sampling interval in the adjacent field, and then click Add.
- In Digital Output Actions, select the digital output (not input) channel from the list, and then select what action to take:
- PULSE ONCE - Select this option if you define the parameter Type=PT_OUTPUT_DRIVE in the Advanced Device Configuration section. The output signal will be sent once according to how you defined the parameters output_pulse_count, output_time_high, and output_time_low. For details and an example, see PT_OUTPUT_DRIVE.
- SET DOWN - When the threshold is reached, the pin changes to "0" (0V).
- SET UP - When the threshold is reached, the pin changes to "1" (2.8V).
When you are finished editing, click Submit.
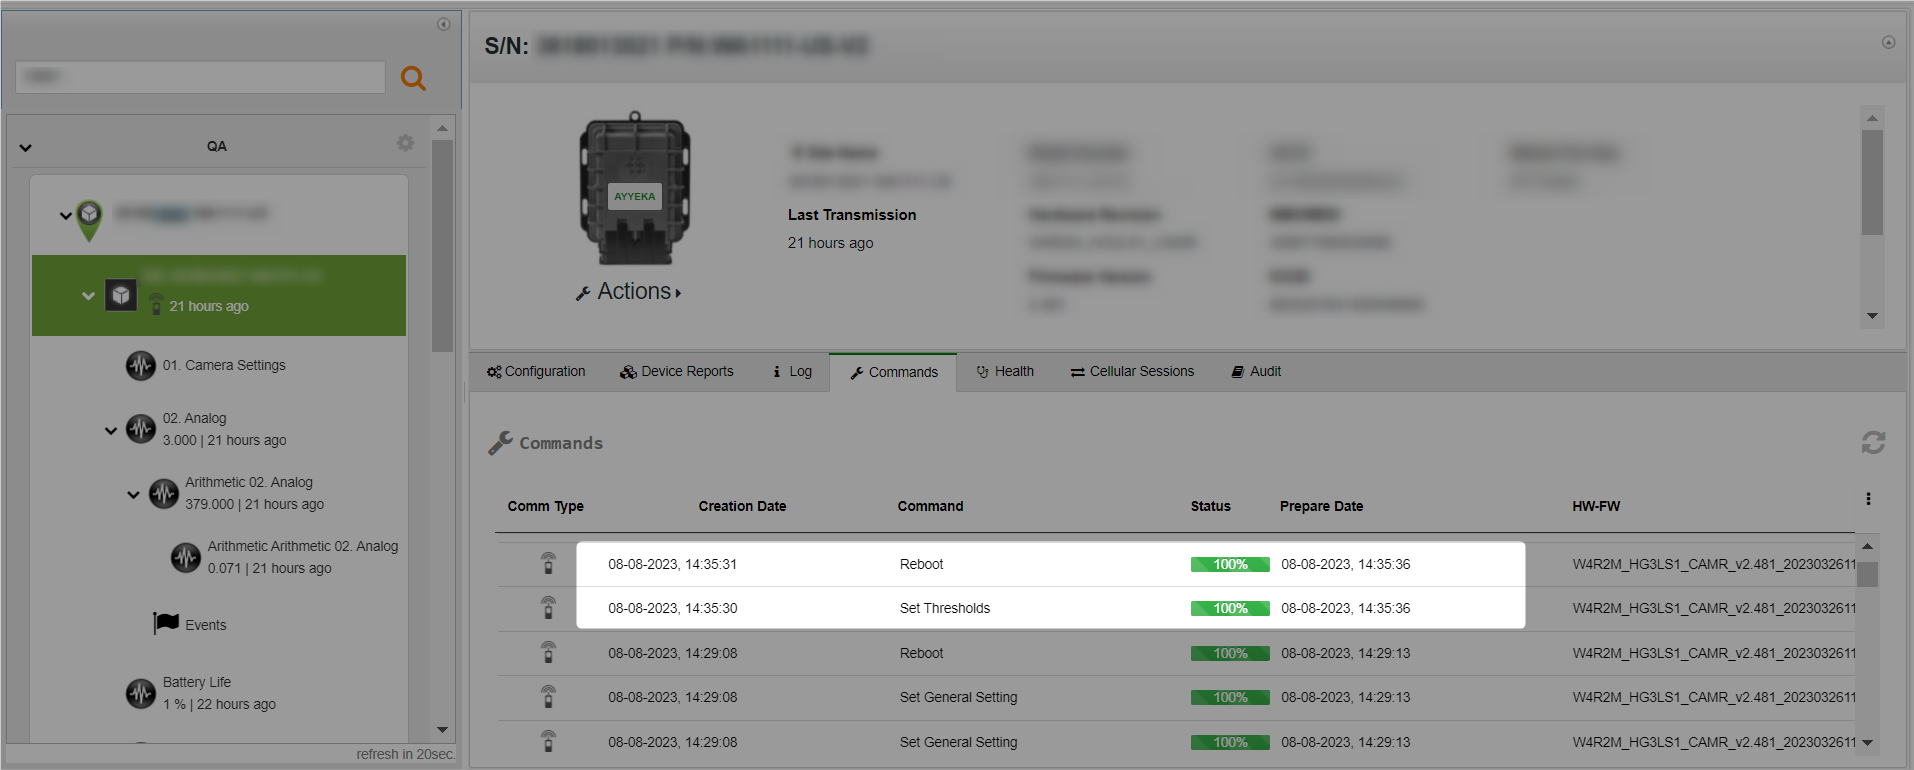
7. In the left pane, click the device, and then click the Commands tab. Check the Command and Status columns that the Set Thresholds and Reboot commands are 100% green.